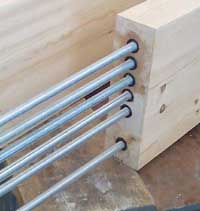
Repair wood beams using our Epoxy Resins and connection bars - full structural strength restored, Engineering Calculation Service available.
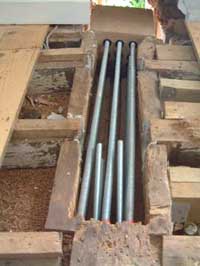
Rotted beams can have new ends or mid sections made by us as Timber-Resin Splice Kits, or you can buy the resins and bars separately to make your own repairs. No need to scrap good beams, no need for extensive buildings works or opening up.
Repairing Holes in Structural Timber Beams
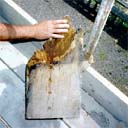
To Fill a Hole or Crack by pouring Epoxy Resin
1. Grind or chisel out all loose wood, vacuum out the dust.
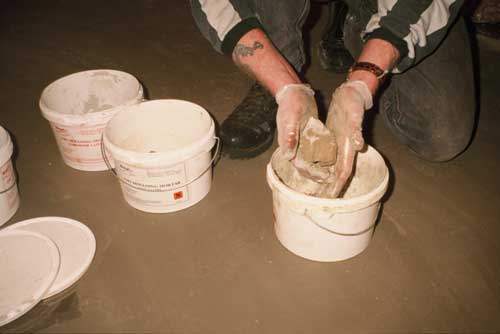
2. Using a Mixing Paddle in an Electric Drilling Machine mix the 3 resin parts thoroughly in the bucket provided.
3. Pour the Structural Epoxy Pouring Resin into the hole. It will gradually self-level.
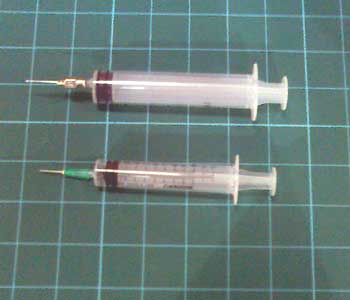
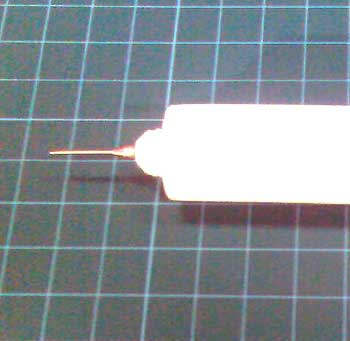
Pouring Structural Epoxy Resin and Grout - 7.5 litres and 1 litre.
Clicking on a blue Product Name takes you directly to the Shopping Page,
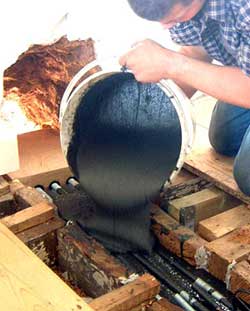
Structural Epoxy Pouring Resin or Grout - 1.0, 2.5 and 7.5 litre - the Resin version is thinner than the Grout version
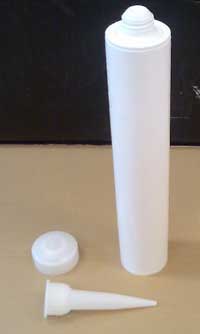
A three part epoxy structural repair material, supplied as two liquids and separate aggregate, in a large plastic mixing tub.
Designed for pouring into holes and voids in timber and concrete.
Ideal for pouring over Epoxy/Glass, Carbon Fibre and Steel Bars and plates, as part of a repair to reinforce a damaged wooden beam.
Also used for Bearing Pads and Mountings, to repair or renew wooden bases or supports.
Structural Epoxy Pouring Grout in 7.5 litre pack size.
Click here to go to our Order Pages
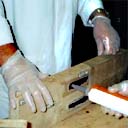
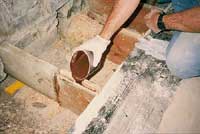
To Fill a Hole or Crack by hand placing Epoxy Putty
1. Grind or cut out the crack to make a clean slot at least 15mm wide and 15mm deep.
2. Remove all dust by brush or vacuum.
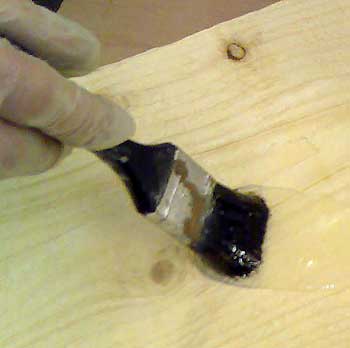
3. Prime with Epoxy Primer and place Mouldable Epoxy Putty
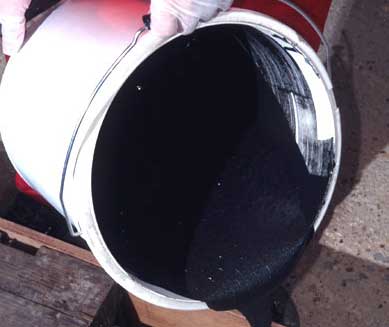
Priming wood with Epoxy Primer. Mixing Mouldable Epoxy
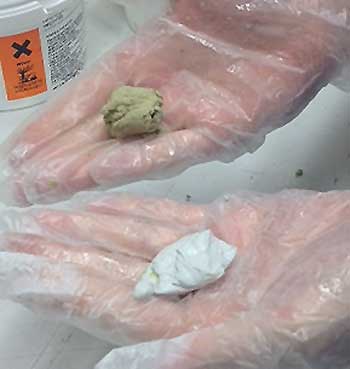
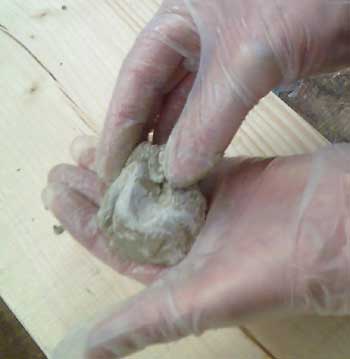
Two part Mouldable Epoxy Putty. Mixing in the gloved hand - wetting hands helps.
Clicking on a blue Product Name takes you directly to the Shopping Page,
How to choose a crack repair method and material
General principle - cut out the cracks with a saw, router, masonry grinder, or Allsaw (a superb slot cutting machine, available from Hire Shops), to form square edged slots, and remove all dust and debris. Avoid 'V' shaped slots - the repair will be much weaker.
Repair Thickness - the more material that we can put into the repair, in terms of width and depth, the better it will be able to accommodate natural movements caused by changing temperatures and therefore the better it will last.
Caution - Always consult a Structural Engineer and the building's Insurers before proceeding.
Click to visit our Order Pages
Fine to medium cracks - hairline to 15mm wide.
Cut out to - 15mm to 25mm in width
Apply Epoxy Primer liquid by brush and whilst tacky lay in the putty-like repair mortar, Mouldable Epoxy Putty.
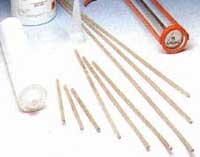
Epoxy Primer - available in 500cc, 1 litre and 5 litre, two pot, liquids.
Mouldable Epoxy Putty - available in 500cc and 1 litre, two pot, putties.
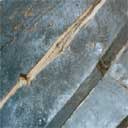
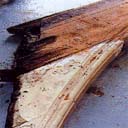
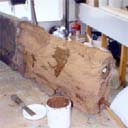
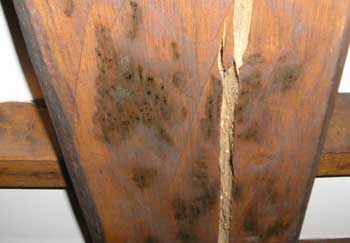
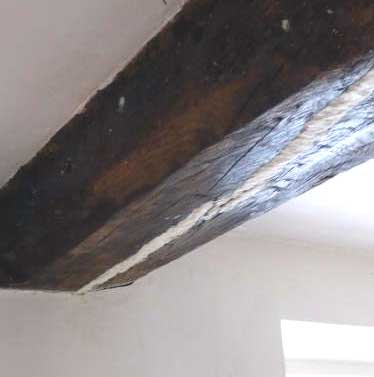
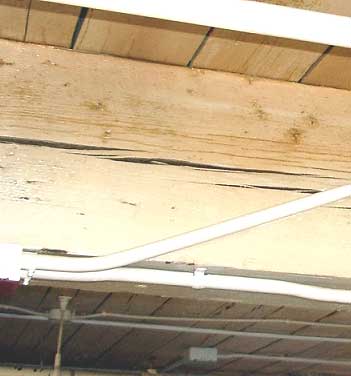
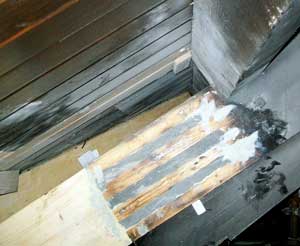
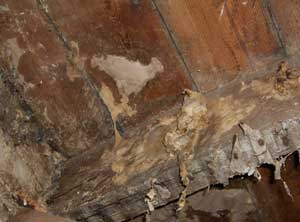
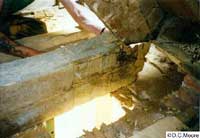
Split in a principal roof rafter timber. Rot in a multi part timber roof frame. Rot in a timber fireplace Lintol.
Click to visit our Order Pages